
Make this gift with the Cricut Engraving Tool!
- Shelly Tschupp
- Aug 19, 2019
- 3 min read
Updated: Sep 18, 2023
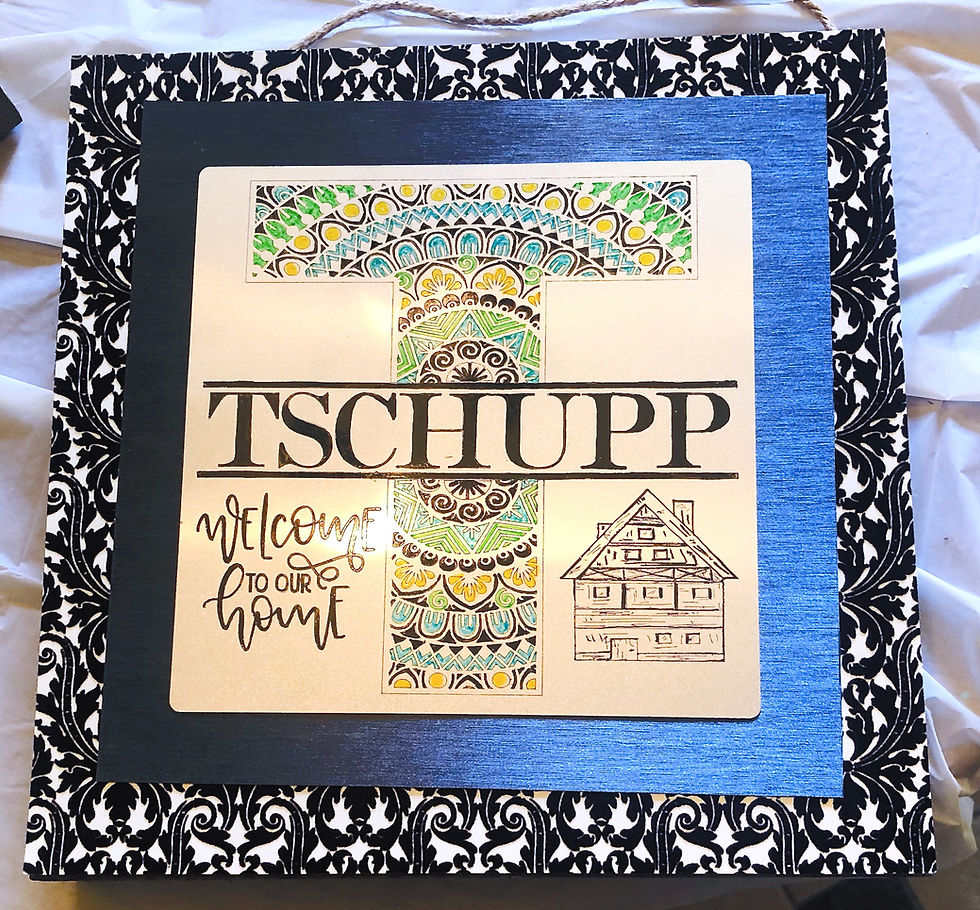
Make this beautiful gift Monogram Sign using your Cricut using the Engraving tool! Read below for steps & links to the design in Cricut Access!
Time: 2 hours active, 2 days mostly inactive curing with ModgePodge.
Supplies Shopping Link
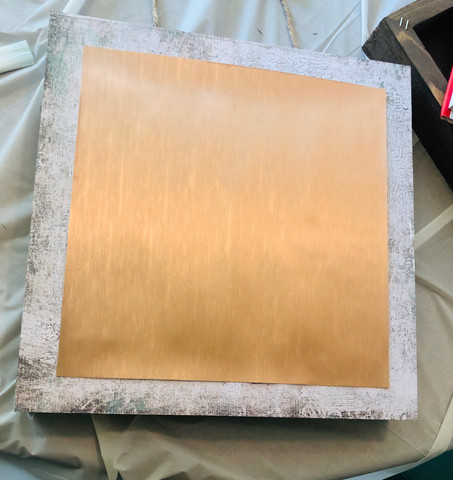
Metal Aluminum sheet (I used 8x8)
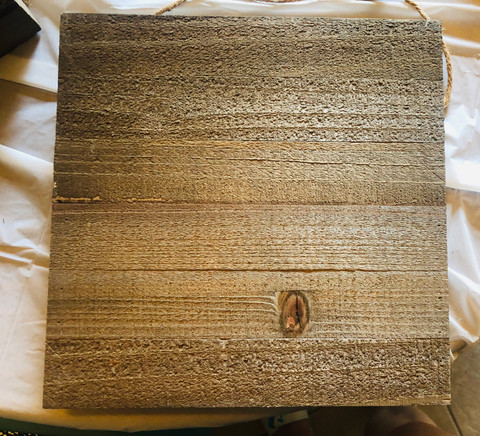
Wood to mount it too (I bought mine on Amazon for less than $8) 12x12 or larger
2 Crafting papers or cardsoick - or both in 12x12 (you will cut one to 10x10), try to find papers that go with your design and alternate solids with patterns to give your project some design punch!
Cricut Maker & Engraving Tool & Cricut Access Design Space if you want to use one of my free designs
Enamel paint markers (you will bake the metal sheet in your oven to heat set the ink to make it last for years!
Modge Podge to glue & protect the paper if it is going to hang outside I recommend outside or dishwasher version of Modge Podge
Paint brush to brush away engraving shavings, and another to apply the Modge Podge, painters tape to hold the metal sheet on the cutting mat, a couple of paper towels, and some household rubbing alcohol.
E6000 glue to attach the metal engraving, Dots, or liquid nails works too, you can also drill holes in the engraving and attach with screws.
Clear Lacquer or Clear Acrylic Spray, only if you plan to hang outside
Steps:
1. Select your design (click here to link to mine on Cricut Access and modify it)
2. Most aluminum sheets have a plastic covering on both sides, peel them off now.
3. Place your sheet metal on a Strong Purple Mat, and using painters tape tape around the corners to make sure it doesn't move during the engraving. Make sure that your image in Cricut is placed in the right spot on the mat. For engravings I put it one inch down and one inch in from the left. I then move my design to that same position leaving a border around it. During the engraving process your Cricut will spin the engraving tool around occasionally, that is normal, ignore it!

4. Once the Engraving is completed remove the tape and your engraved aluminum sheet from the mat. You need to remove the shavings left behind, use a brush or tape to remove all of them taking care as they are sharp.
5. Take your enamel paint markers and color in whatever areas you wish. In mine I first did a wash of black and after a 3 minutes removed all of it with the paper towel by adding a small amount of rubbing alcohol to the towel and making circular swipes. Don't press too hard or you will remove all of the enamel. This left some black in the cuts to show off some of the design.

6. At this point you have a beautiful engraving and can decide if that is all that is needed. Or you can continue to add more enamel. Once you decide you have done all of the enamel to your liking you can place it on a cookie tray (double check the backside to confirm you did remove the clear cellophane protective covering), bake it following the enamel marker instructions, normally used on Glass the same heat setting and time for metal also works.
7. While your engraving is backing take out your wood, Modge Podge, 2 craft papers, and brush. Apply an even coat of Modge Podge to the wood to glue your back paper to it. Then cut the next paper down to 10x10, this will leave a one inch border around it when you glue it down. It takes about 15 minutes for the Modge Podge to dry, you can then coat the back of your second sheet and place it in the center of your wood. Pro Tip: I place plastic on the work surface (or parchment paper) and turn mine over placing a heavy object on top to ensure the paper dries flat). If you plan on hanging this outside you will want to put another 3 coats of Modge Podge, including the side edges, and you will want to spray it with a clear coat, lacquer or outdoor spray paint works well.


8. Once the engraving is done baking take it out and let it cool, since it's metal and thin it only takes a few minutes. Glue to to the center of your design using strong adhesive, such as E6000, liquid nails, or drill holes and attach with screws. Your beautiful sign is completed and ready to wrap or hang! Enjoy!
Supplies can be found here, this link is an affiliate link (meaning it costs you no more to buy them but I do receive a tiny commission on them to help pay for my blog).


Comments